

You’re halfway through your morning run, sweat dripping like you’ve been caught in a surprise downpour, and you reach for that neon-colored sports drink you grabbed from the convenience store. As you gulp it down, you can’t help but wonder—what exactly am I putting in my body? If you’ve ever questioned the laundry list of unpronounceable ingredients in commercial electrolyte drinks, you’re not alone.
Here’s the thing: making your electrolyte drink at home isn’t just possible—it’s surprisingly simple, way more affordable, and arguably better for you than anything you’ll find on store shelves. I’m talking about natural hydration that works, without the artificial colors that make your tongue look like you’ve been eating sidewalk chalk.
Whether you’re a weekend warrior, a parent trying to keep the kids hydrated during soccer practice, or someone who just wants to feel less like a wilted houseplant after a night out, this guide will transform you into a DIY hydration expert. We’re diving deep into the science, the recipes, and the game-changing tricks that’ll have you wondering why you ever paid premium prices for glorified sugar water.
Why Your Body Craves Electrolytes (And Why Store-Bought Isn’t Always Better)
Before we jump into the fun stuff—the recipes—let’s talk about why electrolytes matter. Think of electrolytes as your body’s electrical system. These minerals, including sodium, potassium, magnesium, and calcium, conduct electricity that keeps your muscles contracting, your heart beating, and your brain firing on all cylinders.
When you sweat, exercise, or even just go about your day, you lose these crucial minerals. Without adequate replacement, you might experience fatigue, muscle cramps, headaches, or that general feeling of being “off.” It’s like trying to run a smartphone with a dying battery , everything works, but not very well.
What is the problem with most commercial electrolyte drinks?
They’re loaded with artificial ingredients, excessive sugar, and often contain more marketing hype than actual nutritional value. A typical sports drink can pack 34 grams of sugar that’s more than a can of soda! Plus, many contain synthetic colors, artificial flavors, and preservatives that your body simply doesn’t need.
Creating your homemade electrolyte drink puts you in control. You choose the ingredients, adjust the flavors, and most importantly, you know exactly what you’re consuming.
The Essential Ingredients for DIY Electrolyte Success
Creating an effective natural electrolyte drink starts with understanding the core components. Here’s what you need in your hydration arsenal:
The Salt Situation: Not All Salts Are Created Equal
Sea salt or Himalayan pink salt are your best friends here. Unlike table salt, which is heavily processed and stripped of minerals, these natural salts contain trace minerals that enhance hydration. You’ll need about 1/4 teaspoon per 16-20 ounces of water.
I swear by Himalayan pink salt—it’s like the Swiss Army knife of salts, containing over 80 trace minerals. Plus, it gives your drink a subtle, clean taste that doesn’t scream “I’m drinking saltwater.”
Potassium Powerhouses
Potassium is crucial for muscle function and preventing cramps. The easiest way to add it? Coconut water. This natural wonder contains about 600mg of potassium per cup—more than a banana! Other excellent sources include:
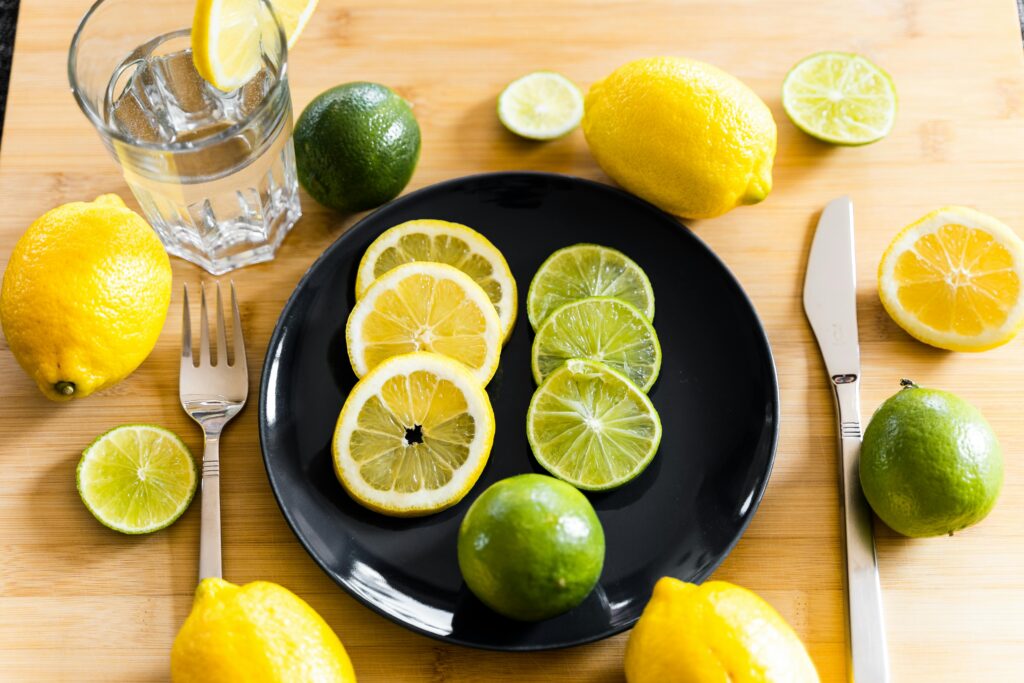
- Fresh citrus juice (lemon, lime, orange)
- Watermelon juice
- Cream of tartar (yes, the baking ingredient—1/8 teaspoon provides serious potassium)
Magnesium Magic
Often overlooked but essential, magnesium supports muscle and nerve function. A pinch of magnesium chloride or magnesium sulfate (Epsom salt—food grade only!) can work wonders. Start with just a tiny pinch; too much can have a laxative effect.
Natural Sweeteners (Optional but Recommended)
While not essential for hydration, a touch of sweetness makes your drink more palatable and can provide quick energy. Skip the refined sugar and opt for:
- Raw honey (antimicrobial properties bonus!)
- Pure maple syrup (rich in minerals)
- Stevia (for sugar-free options)
- Fresh fruit juices
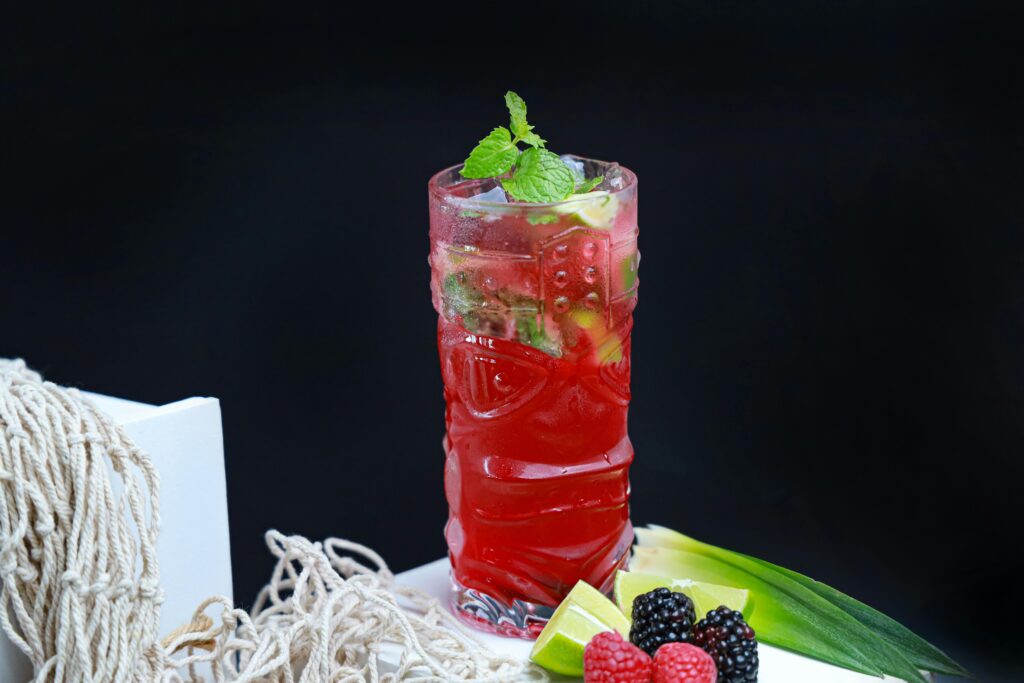
7 Game-Changing Homemade Electrolyte Drink Recipes
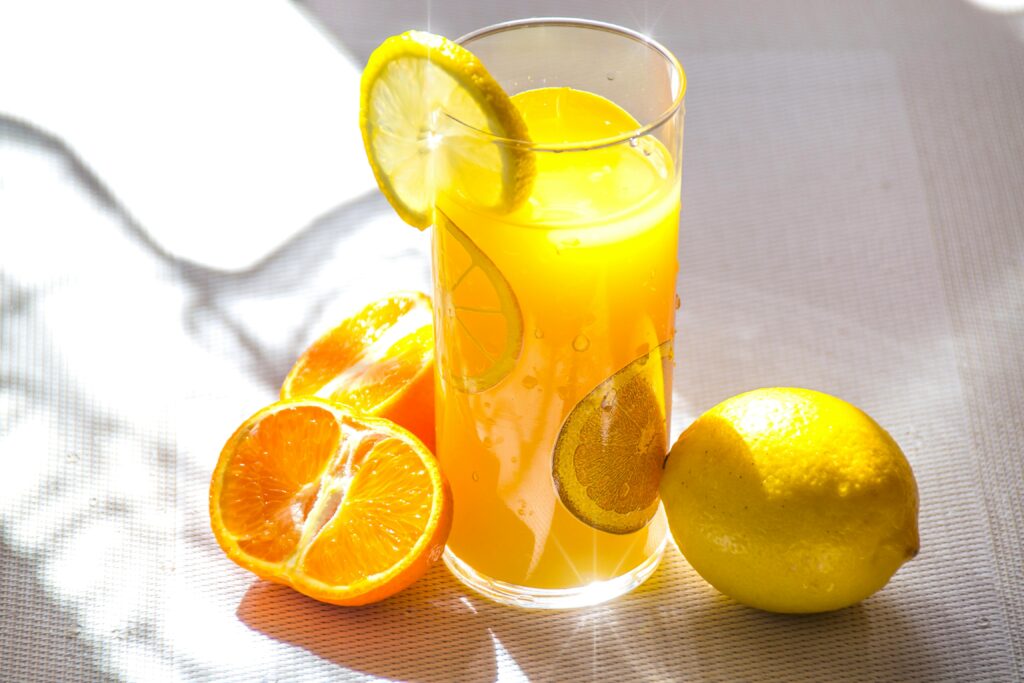
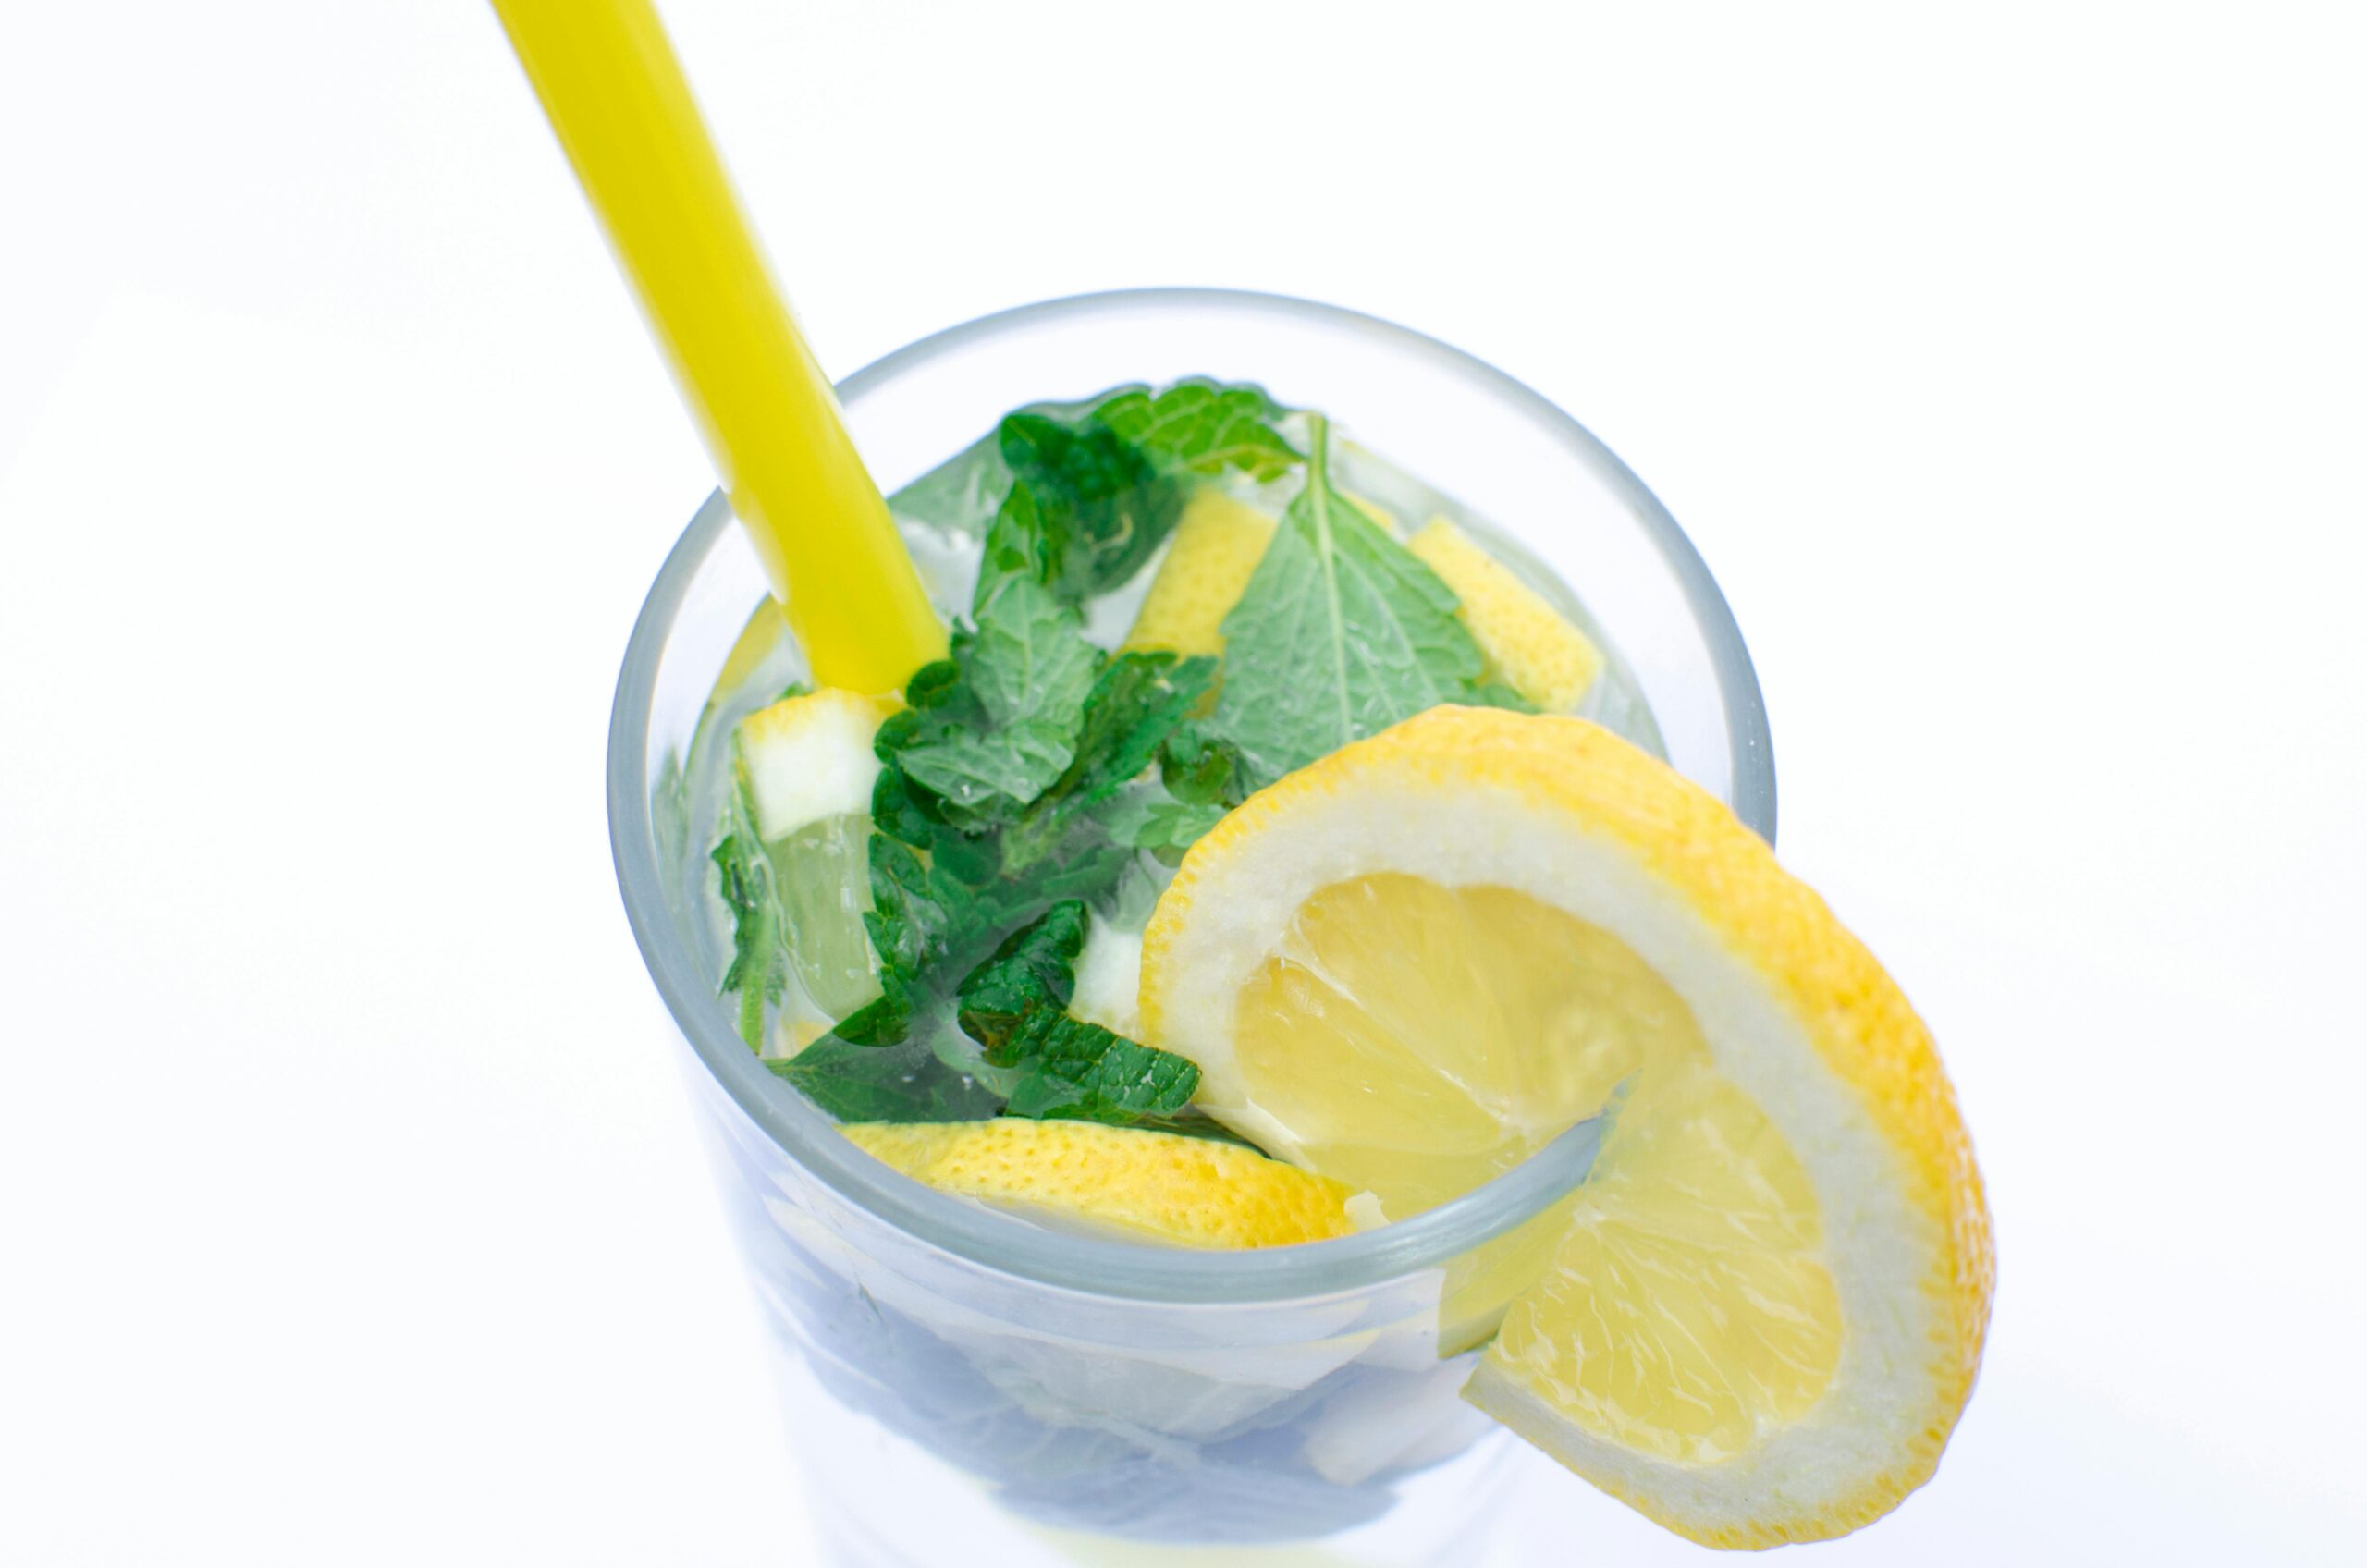
1. The Classic Citrus Refresh
Ingredients:
- 2 cups filtered water
- 1/4 cup fresh lemon juice
- 2 tablespoons fresh lime juice
- 1/4 teaspoon sea salt
- 1 tablespoon raw honey
- Pinch of magnesium chloride (optional)
Instructions: Mix all ingredients in a large glass or jar. Stir until the honey dissolves completely. Serve over ice and garnish with fresh mint if you’re feeling fancy.
Why it works: This lemon electrolyte water combines the potassium from citrus with the sodium from sea salt, creating a balanced profile that rivals commercial sports drinks.
2. Coconut Water Paradise
Perfect for: Hot weather, tropical vibes, natural sweetness lovers

Ingredients:
- 1 cup coconut water
- 1 cup filtered water
- 1/4 cup fresh orange juice
- 1/8 teaspoon sea salt
- 1 tablespoon lime juice
- Fresh mint leaves
Instructions: Combine all ingredients and chill for at least 30 minutes. The coconut water provides natural electrolytes while the orange juice adds vitamin C and extra potassium.
Pro tip: Buy coconut water in bulk and freeze it in ice cube trays. Coconut water ice cubes are a game-changer for any electrolyte drink.
3. The Sugar-Free Athlete’s Choice
Perfect for: Keto dieters, diabetics, sugar-conscious athletes
Ingredients:
- 2 cups filtered water
- 1/4 teaspoon sea salt
- 1/8 teaspoon potassium chloride (salt substitute)
- 1/4 cup fresh lemon juice
- 10-15 drops liquid stevia
- 1/8 teaspoon magnesium chloride
Instructions: Dissolve all salts in a small amount of warm water first, then add remaining ingredients. This sugar-free electrolyte drink packs serious hydration power without any carbs.
Heads up: Potassium chloride can taste bitter, so start with less and adjust to taste.
4. The Green Goddess
Perfect for: Vegetable lovers, nutrient maximalists
Ingredients:
- 1 cup coconut water
- 1 cup cucumber juice (fresh or store-bought)
- 1/4 cup celery juice
- 1 tablespoon apple cider vinegar
- 1/8 teaspoon sea salt
- Fresh herbs (basil, mint, or cilantro)
Instructions: Blend all ingredients until smooth. Strain if desired. This natural hydration drink is packed with minerals and has a surprisingly refreshing taste.
5. Watermelon Wonder
Perfect for: Summer days, kids, anyone who wants hydration that tastes like dessert
Ingredients:
- 2 cups fresh watermelon juice
- 1/2 cup coconut water
- 1 tablespoon lime juice
- 1/8 teaspoon sea salt
- 1 teaspoon raw honey (optional)
Instructions: Blend fresh watermelon chunks and strain for juice. Mix all ingredients and serve immediately over ice. Watermelon naturally contains citrulline, which may help with muscle soreness.
6. The Hangover Helper
Perfect for: Recovery, rehydration after illness, “those” mornings
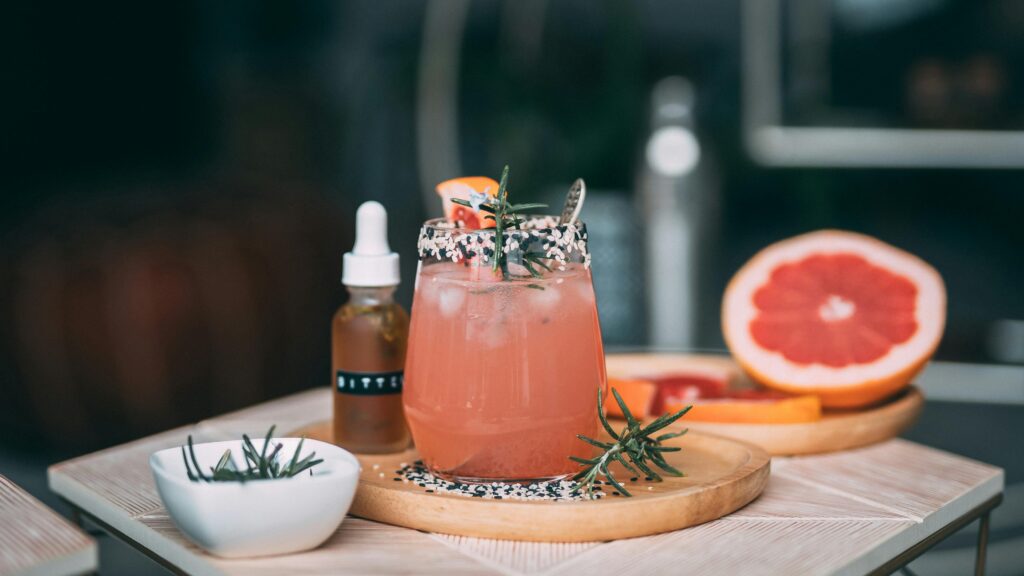
Ingredients:
- 2 cups filtered water
- 1/4 cup fresh grapefruit juice
- 2 tablespoons apple cider vinegar
- 1/4 teaspoon sea salt
- 1 tablespoon raw honey
- 1/8 teaspoon magnesium chloride
- Fresh ginger (1-inch piece, grated)
Instructions: Steep grated ginger in hot water for 10 minutes, then strain. Mix with remaining ingredients and serve cool. The ginger soothes nausea while the electrolytes restore balance.
7. The Endurance Beast
Perfect for: Long workouts, marathon training, serious athletes
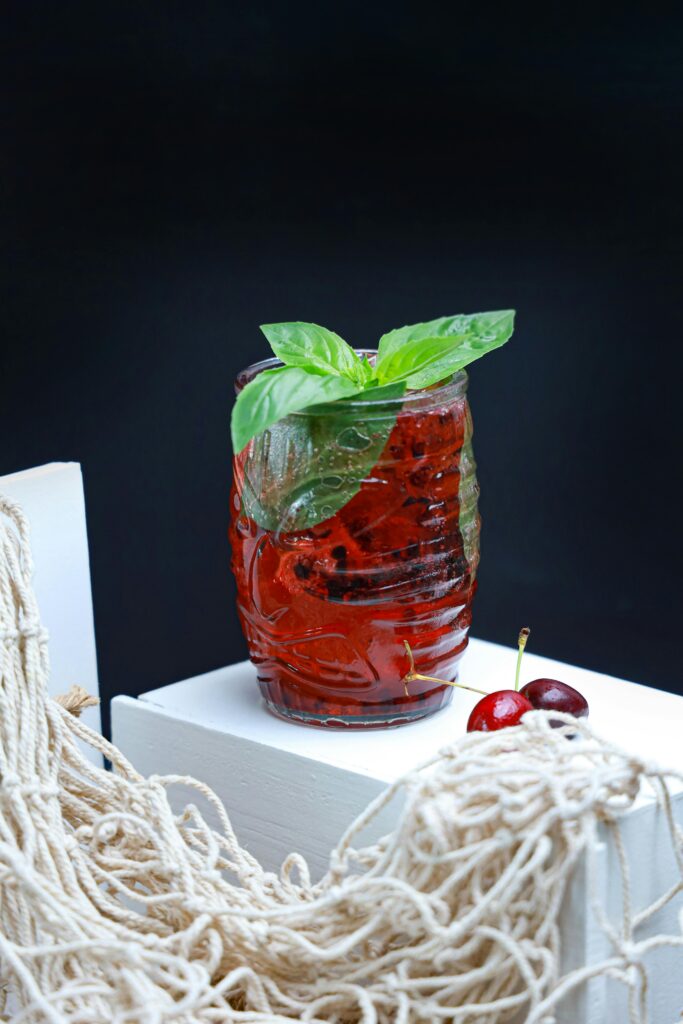
Ingredients:
- 2 cups coconut water
- 1 cup filtered water
- 1/4 cup tart cherry juice
- 2 tablespoons maple syrup
- 1/4 teaspoon sea salt
- 1/8 teaspoon potassium chloride
- Pinch of magnesium chloride
Instructions: Mix all ingredients thoroughly. This post-workout electrolyte drink provides carbohydrates for energy replacement plus anti-inflammatory compounds from tart cherries.
The Science Behind Perfect Electrolyte Balance
Creating an effective electrolyte drink recipe isn’t just about throwing salt in water and calling it a day. The magic happens when you understand the ratios and interactions between different minerals.
Sodium is your hydration highway—it helps your body retain water and drives fluid into cells. Too little, and you’ll pee out most of what you drink. Too much, and you’ll feel like you’ve been eating pretzels for breakfast.
Potassium works as sodium’s partner, helping maintain proper fluid balance and preventing muscle cramps. The ideal ratio is roughly 3:1 potassium to sodium, though this can vary based on individual needs and activity levels.
Magnesium is the underdog hero, supporting over 300 enzymatic reactions in your body. It’s crucial for muscle function and energy production.
Calcium rounds out the big four, supporting muscle contractions and nerve transmission.
Storage, Safety, and Smart Tips
How Long Do Homemade Electrolyte Drinks Last?
Unlike commercial drinks loaded with preservatives, your DIY electrolyte water has a shorter shelf life. Here’s the breakdown:
- Refrigerated: 3-5 days maximum
- Room temperature: 24 hours (and that’s pushing it)
- With fresh citrus: 2-3 days refrigerated
- Frozen: Up to 3 months (freeze in ice cube trays for easy portions)
Safety First: What to Watch For
Never use Epsom salt that’s not food-grade. The stuff from the pharmacy is for external use only and can be harmful if ingested. Always check labels and source food-grade minerals.
Start slowly if you’re new to electrolyte drinks. Too much too fast can cause digestive upset or an electrolyte imbalance in the opposite direction.
Listen to your body. If you experience persistent fatigue, irregular heartbeat, or severe muscle cramps, consult a healthcare provider. These could be signs of a serious electrolyte imbalance.
Customizing Your Hydration Game
For Athletes and Heavy Sweaters
If you’re logging serious miles or sweating buckets, you’ll need more sodium than the average person. Consider increasing salt content to 1/2 teaspoon per 16-20 ounces, especially during hot weather or intense training.
For Kids and Sensitive Stomachs
Children and people with sensitive digestive systems should start with milder versions. Cut salt content in half and focus on naturally sweet options like watermelon or coconut water bases.
For Specific Dietary Needs
Keto dieters: Stick with sugar-free versions and consider adding extra magnesium and potassium to support the metabolic changes.
Vegans: All the recipes listed are naturally vegan-friendly. Focus on coconut water and fresh fruit juices for mineral content.
Diabetics: Monitor natural sugar content from fruits and coconut water. The sugar-free athlete’s choice is your best bet.
Common Mistakes (And How to Avoid Them)
Mistake #1: Too Much Salt, Too Fast
I’ve seen people create electrolyte drinks that taste like they’re chugging ocean water. Start with less salt than you think you need and gradually increase. Your taste buds are a good guide here.
Mistake #2: Ignoring Temperature
Electrolyte drinks often taste better cold, but temperature also affects how we perceive saltiness. A drink that tastes perfect ice-cold might taste too salty at room temperature.
Mistake #3: Forgetting About Timing
When you drink, your electrolyte solution matters. Pre-workout? Go lighter on the salt. Post-workout? You can handle more mineral content. During illness? Focus on gentle, easily digestible options.
Mistake #4: Overdoing the Magnesium
A little magnesium goes a long way. Too much can cause digestive issues. Start with tiny pinches and increase gradually.
The Economic Advantage: Your Wallet Will Thank You
Let’s talk numbers for a moment. A typical sports drink costs $2-4 per bottle. If you’re drinking them regularly, that’s $60-120 per month. Your homemade electrolyte drink costs pennies per serving:
- Sea salt: $0.04 per serving
- Lemon juice: $0.20 per serving
- Honey: $0.15 per serving
- Water: essentially free
Total cost per serving: about $0.39
That’s roughly 85% savings compared to commercial options. Over a year, you could save $300-500 while enjoying better-tasting, more nutritious hydration.
Advanced Techniques and Flavor Innovations
Infusion Magic
Create concentrated flavor bases by infusing water with herbs, fruits, or vegetables. Cucumber-mint water, berry-basil combinations, or even jalapeño-lime for the adventurous. Make large batches and store in the fridge for easy mixing.
The Ice Cube Trick
Freeze coconut water, diluted fruit juices, or herb-infused waters in ice cube trays. Add these to plain water with salt for instant flavor and electrolyte boost. It’s like having a hydration station in your freezer.
Seasonal Specialties
Summer calls for cucumber-watermelon blends, while winter might inspire warming ginger-citrus combinations. Adapt your recipes to seasonal produce for the best flavors and nutrition.
When to Reach for Your Homemade Elixir
Pre-Workout (30 minutes before)
Light electrolyte content to prep your system without overwhelming it. The Classic Citrus Refresh works perfectly here.
During Exercise (for sessions over 60 minutes)
Sip small amounts regularly. The Endurance Beast provides sustained energy and mineral replacement.
Post-Workout (within 30 minutes)
This is prime time for electrolyte replacement. Go for higher mineral content to restore what you’ve lost.
During Illness
Gentle, easily digestible options help maintain hydration when you’re not feeling great. The Hangover Helper (minus the name judgment) works wonderfully for flu recovery.
Daily Maintenance
A mild electrolyte drink can be part of your daily routine, especially if you live in a hot climate or have a physically demanding job.
The Environmental Win
Beyond the health and economic benefits, making your electrolyte drinks is an environmental victory. No more plastic bottles, no shipping costs, no packaging waste. It’s a small change that adds up to a significant impact over time.
Troubleshooting Your Hydration Journey
“It tastes too salty!”
Dilute with more water or add a touch of natural sweetener. Remember, you can always add more salt, but you can’t take it out.
“I’m still getting muscle cramps.”
You might need more potassium or magnesium. Try adding cream of tartar or increasing the coconut water content.
“It’s not sweet enough.”
Resist the urge to add regular sugar. Try fresh fruit juices, a touch more honey, or experiment with naturally sweet vegetables like beets or carrots.
“I don’t feel more hydrated.”
Hydration is more than just drinking—it’s about retention. Make sure you’re getting adequate sodium, and consider your overall water intake throughout the day.
The Bottom Line: Your Hydration, Your Rules
Making your own electrolyte drinks isn’t just about saving money or avoiding artificial ingredients, though those are pretty great perks. It’s about taking control of your health, understanding what your body needs, and creating solutions that work for your lifestyle.
The beauty of homemade sports drinks lies in their customization. You can adjust flavors, mineral content, and sweetness to match your preferences, activity levels, and health goals. No more settling for whatever’s available at the gas station or paying premium prices for water with a fancy label.
Start with one or two recipes that appeal to you. Experiment with the ratios. Make notes about what works and what doesn’t. Your perfect electrolyte drink might be a hybrid of several recipes, or it might be something entirely new that you stumble upon while experimenting.
Remember, hydration is a journey, not a destination. Your needs will change based on activity, weather, health, and even age. The skills you develop making these drinks will serve you well as you adapt and refine your approach over time.
So grab your ingredients, dust off that measuring spoon, and start mixing. Your body—and your wallet—will thank you. And who knows? You might just discover that the best electrolyte drink was in your kitchen all along.
Ready to transform your hydration game? Start with the Classic Citrus Refresh today and work your way through the recipes. Share your favorite combinations in the comments below—I’m always looking for new flavor inspiration!